A new home — new construction or new-to-you — is the best moment to deal with pest prevention. The space is empty, furniture isn’t in the way, and a few hours of inspection and sealing work head off months or years of reactive pest calls. The cost to seal a utility penetration before a washing machine is in front of it is a fraction of the cost to deal with it after.
Most homeowners move in, settle, and deal with pest issues as they arrive. The households that do the pre-move-in walk-through avoid the first round almost entirely. It’s an afternoon of work that pays dividends for as long as you own the house.
At Simple Pest we handle new-home inspections across San Diego and Sacramento, often at the request of buyers during escrow or new owners shortly after closing. Here’s the full walk-through.
Why Pre-Move-In Is the Right Moment
Empty House Advantage
- Every wall, corner, and utility area is accessible.
- No furniture to move.
- Paint and surfaces are clean and damage is easy to see.
- Work doesn’t disrupt daily life.
Establishing a Baseline
- You know the starting condition.
- Future changes stand out against the baseline.
- Any existing pest evidence is documented for inspector or seller follow-up.
Preventive Window
- Fall move-ins: seal before rodent migration.
- Spring move-ins: seal before ant and wasp season.
- Any time: establish the exclusion that prevents years of calls.
Coordination with Other Work
- Painters, floor installers, and other trades are already on site.
- Pest sealing can coordinate with other repairs.
- Post-construction cleaning removes conditions pests would otherwise exploit.
Exterior Walk-Through
Foundation
- Crack in the foundation wall (visible from outside).
- Gap between foundation and framing.
- Weep holes (brick veneer) should have screens.
- Vent screens (crawl space vents) intact.
- Gap between siding and foundation trim.
Siding
- Damaged or missing siding panels.
- Gaps at corners or joints.
- Damage around vent penetrations.
- Trim gaps at windows and doors.
Roof Line
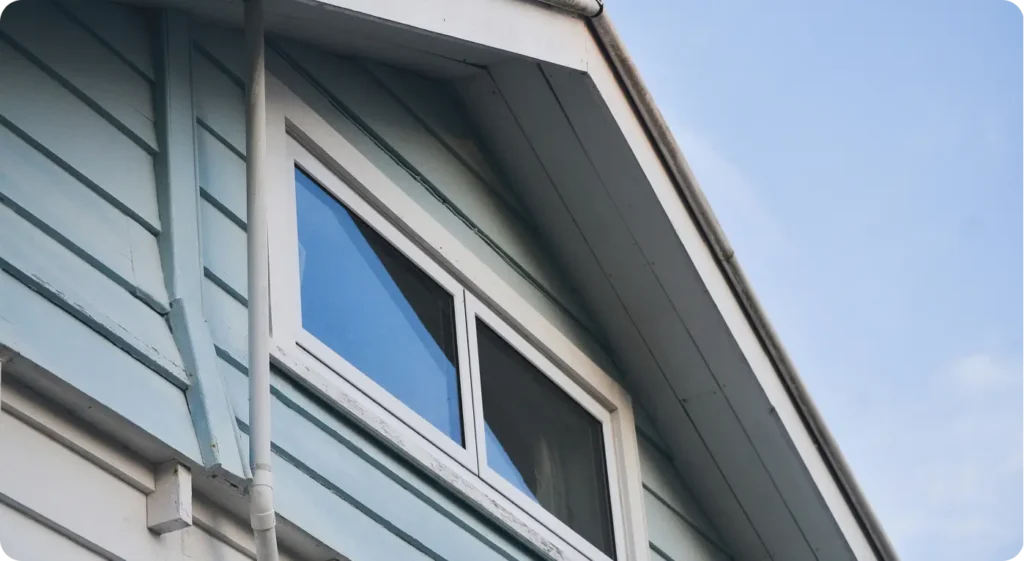
- Gaps at eave-wall junctions.
- Damaged fascia or soffit.
- Missing or damaged flashing.
- Shingles with visible damage.
- Roof-penetrating pipes without appropriate collars.
Vents
Every vent should have intact screening:
- Dryer vent (external cover with flapper and screen).
- Bathroom exhaust vent.
- Kitchen range hood exterior vent.
- Attic vents (gable, ridge, soffit, turbine).
- Foundation or crawl space vents.
Damaged screens are among the most common pest entry points.
Utility Penetrations
- Gaps around electrical service entry.
- Gaps around HVAC refrigerant lines.
- Gaps around gas line entry.
- Gaps around water service entry.
- Gaps around cable and data lines.
These are the primary entry points for rodents, roaches, and various other pests.
Doors and Windows
- Weather stripping on exterior doors.
- Door sweeps intact and contacting the threshold.
- Window screens intact and fitted properly.
- Window frame gaps sealed.
- Sliding door tracks clear and frame sealed.
Garage
- Garage door seal at the base (most common gap).
- Side door weatherstripping.
- Man-door sweep.
- Gaps between garage and house (the interior garage wall).
Landscape Adjacency
- Plantings and mulch against the foundation.
- Wood piles, stored materials, or debris against the house.
- Trees with branches touching the roof.
- Fence sections that provide climbing access to the roof.
- Utility lines that approach the house through vegetation.
Interior Walk-Through
Under Sinks
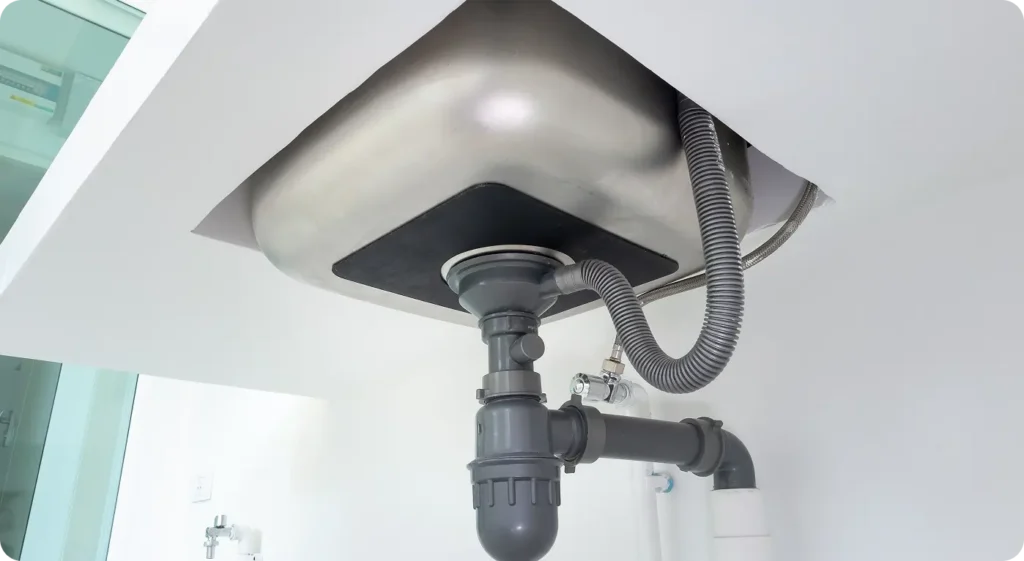
The highest-density pest access point in most homes:
- Gaps around drain pipes entering the wall.
- Gaps around supply lines.
- Damage under the sink from prior plumbing work.
- Evidence of moisture or prior leaks.
- Smell suggesting past rodent activity.
Behind Appliance Locations
Before fridge, washer, and dishwasher installation:
- Inspect the wall behind the appliance location.
- Seal gaps in the wall or utility penetrations.
- Address any prior evidence of activity.
- Install appliance with awareness of access paths.
Wall-Floor Junctions
- Gaps behind baseboards.
- Damage to baseboards that could hide activity.
- Moisture indicators.
Electrical
- Outlet covers intact.
- Gaps around outlet boxes in exterior walls (common entry for wall void pests).
- Light fixture covers proper.
- Ceiling fan boxes sealed.
Attic Access
- Pull down and inspect the attic.
- Evidence of prior rodent activity.
- Insulation condition.
- Vent screening from the inside.
- Gaps or daylight visible where none should be.
Crawl Space
- Access hatch condition.
- Vapor barrier condition.
- Standing water or moisture.
- Evidence of rodent activity.
- Insulation condition.
- Vent screens from inside.
Garage Interior
- Wall-ceiling junctions for gaps.
- Garage door seal from inside.
- Shared wall with house for gaps.
Documentation During Walk-Through
For a thorough inspection:
- Photos of each identified issue.
- List organized by urgency and type.
- Notes on items that will require professional work.
- Notes on items that can be DIY.
Priority Fixes Before Moving In

Immediate (Before Moving Furniture)
- Seal major rodent-sized openings.
- Install door sweeps on missing or damaged ones.
- Replace damaged screening.
- Address any active pest evidence.
During Move-In Period
- Additional exclusion work.
- Deep cleaning of kitchens and bathrooms.
- Paint and finish work that affects pest access.
First 30 Days
- Complete remaining exclusion.
- Professional pest assessment if indicated.
- Establish ongoing monitoring.
Sealing Techniques
Small Gaps (under 1/4 inch)
- Silicone or polyurethane caulk.
- Paintable caulk for visible areas.
- Works for minor gaps around pipes, trim, outlets.
Medium Gaps (1/4 to 2 inches)
- Copper mesh packed into gap.
- Caulk or foam over mesh.
- Don’t rely on foam alone — rodents chew through foam.
Large Gaps (over 2 inches)
- Hardware cloth (1/4 inch mesh).
- Metal flashing.
- Proper repair of underlying material if structural.
- Professional work for significant gaps.
Door Sweeps
- Brush-style for irregular floors.
- Rubber for smooth floors.
- Install with appropriate fasteners.
- Adjust to contact without dragging.
Screen Replacement
- Measure opening.
- 1/4 inch galvanized or stainless hardware cloth.
- Cut to fit with 1-inch margin.
- Secure with screws and washers, not just staples.
New Construction Specific Issues
Construction Debris
- Builders often leave wood scraps, packaging, and debris in attics, crawl spaces, and yard areas.
- Remove before pests establish.
- Clean garage and shed areas of builder debris.
Landscaping
- New landscaping often doesn’t drain properly for first season.
- Moisture issues amplify pest pressure.
- Monitor irrigation and drainage.
Settling Gaps
- New construction settles in the first year.
- Gaps appear at joints that were tight initially.
- Re-inspect after 6-12 months.
Warranty Items
- Many builder warranty items are pest-relevant (door seals, caulking, flashing).
- Document issues during the warranty period.
- Address under warranty rather than as homeowner expense.
Existing Home Specific Issues
Evidence from Prior Owners
- Droppings or staining in cabinets.
- Old sticky traps or bait stations.
- Sealed gaps that may indicate past pest issues.
- Odors suggesting past rodent activity.
Disclosed Issues
- Known pest issues from seller disclosures.
- Pest inspection report from purchase process.
- HOA or neighborhood-level issues.
Undisclosed Issues
- Hidden pest evidence found during move-in.
- May warrant conversation with seller or real estate professional.
- Focus on remediation rather than blame.
Deep Cleaning
- Kitchen cabinets emptied and wiped before restocking.
- Pantry cleaned thoroughly.
- Bathroom cleaning.
- Laundry area cleaning.
The First-Year Pest Plan
Monthly for First 6 Months
- Visual inspection of problem areas.
- Attention to any signs of activity.
- Address issues promptly before they escalate.
Seasonal Transitions
- Spring inspection for ant and wasp activity.
- Summer attention to outdoor pest pressure.
- Fall inspection for rodent migration.
- Winter attention to indoor pest activity.
After One Year
- Full re-inspection of exclusion work.
- Address any new gaps from settling.
- Evaluate whether to continue DIY or move to professional monitoring.
Common Mistakes in New Home Pest Prep
Assuming New Means Pest-Free
New construction has pests. The framing stage involves open structures, and pests establish before the building is closed up. Move-in inspection is still warranted.
Delaying Exclusion Until Problems Appear
The cost of exclusion is the same whether done before or after a problem. But the cost of problems (damage, treatment, stress) adds up. Proactive is cheaper.
Focusing Only on Visible Entry Points
Small gaps rodents exploit often aren’t visible at a glance. Systematic inspection catches what casual inspection misses.
Relying on Landscape Alone
Nice landscaping doesn’t prevent pests. Good landscape with poor exclusion still produces pest problems.
Skipping the Attic and Crawl Space
These are the highest-pressure pest zones in most homes. Skipping them in inspection misses the most important areas.
Coordinating with Professionals
Pest Control Pre-Move-In Inspection
For homeowners who want professional evaluation:
- Walk-through with licensed professional.
- Exclusion recommendations.
- Initial treatment if warranted.
- Recommendations for ongoing service.
Home Inspector Coordination
- Home inspection typically identifies some pest-relevant issues.
- Pest-specific inspection goes deeper.
- Both types of inspection have their place.
Coordination with Other Trades
- Roofer for roof-level gaps.
- Handyman for general sealing work.
- Electrician for outlet and fixture sealing.
- HVAC for duct and vent work.
San Diego vs. Sacramento
In San Diego, new home pest proofing priorities include roof rat entry points, Argentine ant exclusion, and spider activity management. Year-round pressure means exclusion work is continuously relevant. Mediterranean-style homes with tile roofs and complex architecture require more inspection attention.
In Sacramento, seasonal pest cycles matter more. Fall move-ins warrant immediate rodent exclusion before migration peaks. Spring move-ins should focus on ant, termite, and wasp prevention. Valley oak and foothill properties have distinctive pest pressure patterns.
When Professional Work Is Worth It
For motivated homeowners with basic handyman skills, most new-home pest proofing is DIY. Professional work earns its keep when roof-level work is required, when hidden pest evidence raises questions, when coordination with other trades is complex, or when the property has unusual architecture or significant pest pressure.
The Tri-Zone™ Defense System establishes pest prevention at the fence line, yard, and foundation for new properties — coordinated with interior exclusion work during the move-in period. Simple Pest offers pre-move-in inspections and initial service coordination across San Diego and Sacramento for new homeowners wanting professional support at the beginning of ownership.